The Project Map provides a geographic overview of your projects and lets people explore and discover engagements near them or in locations of interest. This is a great tool to showcase the breadth of your engagements using a powerful visual feature.

As the Project Map is filterable, you can showcase all active, open and past projects or choose to display only projects within a certain location or a particular category.


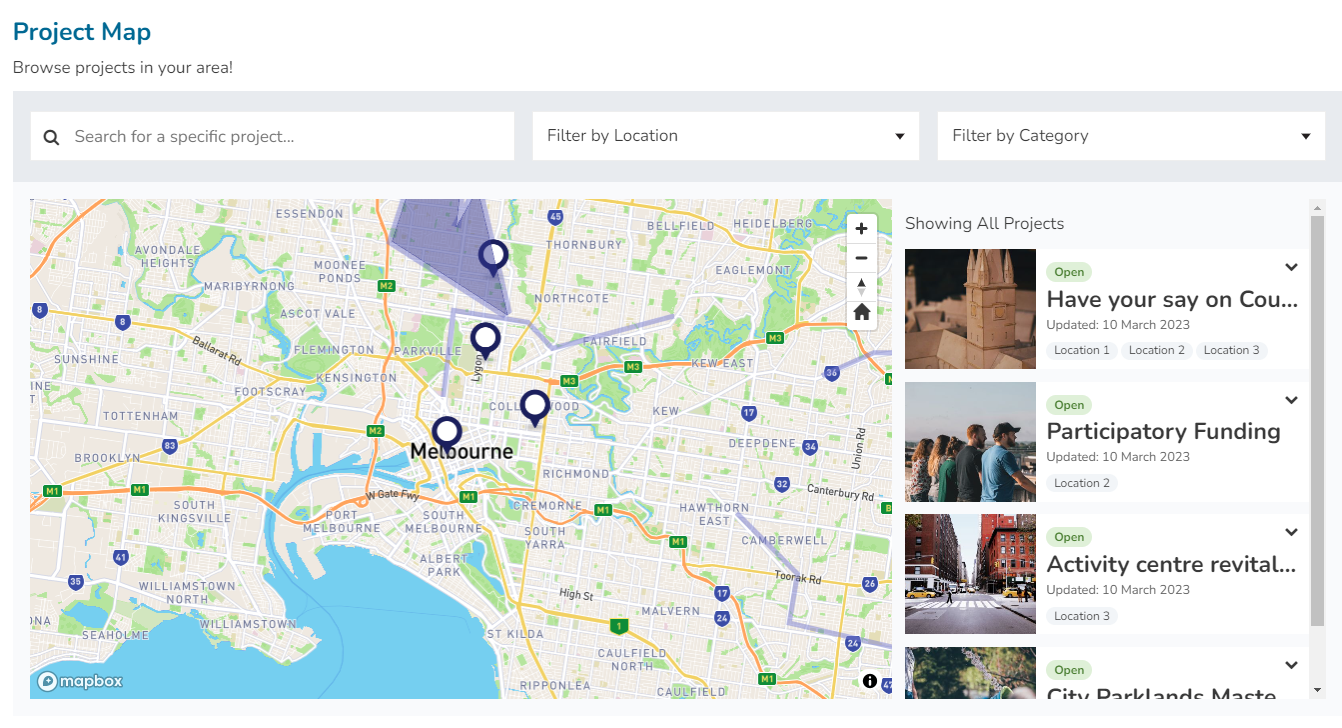
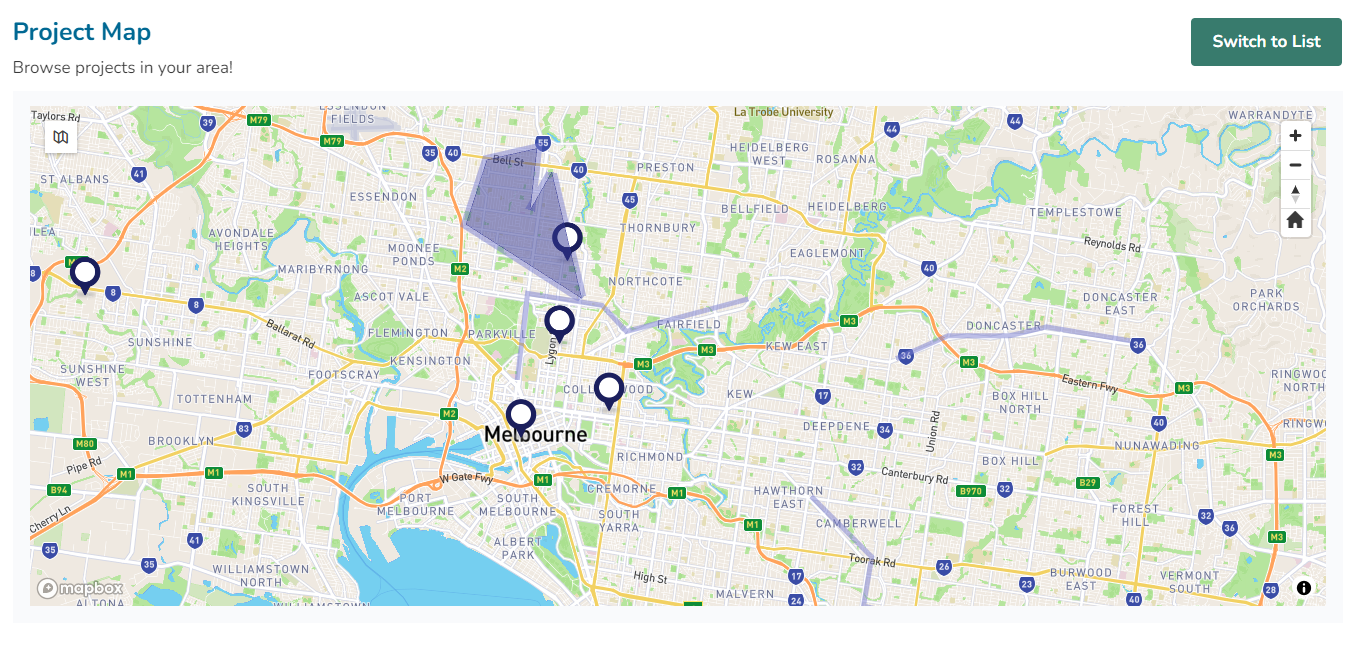
In addition to giving you spatial discoverability, the tool has multiple layout options, including a card mode to show projects as cards, which can be easily toggled between.

In order for a project to appear on the map, you will need to assign a geographic location via the project settings. You can add a marker to the address of your project, or alternatively draw your project location as a line or polygon if it is a more complex study area.

💡NOTE: The Project Map needs to be added on request, please reach out to your Customer Success Manager or to our Support desk and have it activated on your site.

While the Project Map is not available for site users to add directly to a page themselves, you will need to be aware of the settings you can modify within this block on parts of your site such as the Homepage.

There may also be other scenarios where you want to use Project Map such as when creating a hub page to display collections of specific projects all related to one area or topic.

🖼️ Examples

Project Map with Split View and Filters displayed

Project Map without Split View or Filters
⚙️Settings

Basic

  • Title - gives the Project list an optional title, in most instances this will reference the status of the projects in the list. Limited to 70 characters.
  • Description - gives the Project list an optional description that appears below the title, limited to 170 characters.

Projects

  • Project Category Filter - shows projects that match the Category or multiple Categories you have selected to display
  • Project Location Filter - shows projects that match the Location or multiple Locations you have selected to display
  • Project Status Filter - shows projects based on their Status: 'Open', 'Closed' or 'Active'. Only one Project Status value can be selected.
  • Project Type Filter - shows projects based on their Project Type: 'Public' or 'Private'. Only one Project Type value can be selected.
  • Project Team Filter- shows projects based on a defined Project Team (e.g ‘Business Transformation’ or ‘Planning’)

Display

  • Display Split View - Display projects list in split view beside map, or toggle between map and list.
  • Display Project Category Filter - Allow users to filter the projects on the map by their category.
  • Display Project Location Filter - Allow users to filter the projects on the map by their location.
  • Display Project Search Filter - Allow users to filter the projects on the map by keywords.
  • Base Map - Sets the default basemap style that will be used in the map.
  • Map Extent - Determines the default position of the interactive map that will be displayed to participants
    Location - can be set by entering an address or latitude & longitude
    Zoom Level - Determines how close or far the map will be displayed.
  • Display Location Tags - Show or hide location tags from project card.
  • Display Project Image - Show or hide project image from project card.
  • Display Updated Date - Show or hide the project's updated date on the project card.
  • Display Project Status - Show or hide project status from project card.
  • Project Status Colours - Use project status colours for map point, line and polygon.
  • Marker - Choose colour and icon for markers.
  • Line - Choose stroke colour, width and opacity for lines.
  • Polygon - Choose fill colour and opacity, stroke colour, width and opacity for polygons.
  • Sorting - Sort the projects list using a variety of additional options. By default, projects will be sorted by the sitemap order.

🎯 Key Actions

While a Site Admin is not able to add the Project Map block to the site it is possible to edit and update the existing Project Map blocks.

To update the Project Map block

  1. Navigate to the relevant page and to the top left of screen in the toolbar select the pen icon to edit the page
  2. Left click the project map block and select ‘edit block’
  3. Modify the settings to display the relevant projects
  4. Select Save
  5. ‘Save’ or ‘publish’ your changes by selecting the save option in the toolbar

The project map will dynamically display projects based upon the filters that are set on the block (e.g Project Status - Open) which directly references the settings that have been applied to the project and that have a Project Geo Location set.

To have a project appear in a project map you will need to update the settings of that project to match the filters in the project list.

To add a project to a project list

  1. Navigate to the relevant project, to the top left of the screen in the toolbar select the 'gear icon' to update the settings of the project.
  2. Under the Details section of the project settings, update the Project status (e.g if the Project list is set to Project status - Open you will need to set the project status to Open in the project settings.)
  3. Select Save or Publish Changes

💡 NOTE: The minimum dimension for the banner image is 400x300 pixels, if less than this your image might not show up.

When launching a project, the launch wizard will have a Project Geo Location Field. If the project has already been launched, head to the page in question, click on Settings and under the Project Geographic Location you will be able to add/update the location of the project.

To create a specific location within your project, select Draw Location and choose a Linestring, Polygon or Marker tool.

You can draw multiple lines or polygons or drop multiple markers. However, you cannot use multiple tools at once. To finish a shape, hit the tool icon again. To delete a shape or marker, select it and hit the 'trashcan' icon that appears. To finish, select Save Locations.