Data collected through the Short Text and Long Text question types can be manually analysed using the Social Pinpoint text-analysis tools. These tools let you quantify your qualitative responses to summarise and present your results in an easily digestible way. They also help highlight important patterns and trends in your data.
You can use the analysis tools to perform three main functions:
- classify sentiment
- assign tags
- feature key responses
You can use the analysis tools directly 'in-line' with the data table itself, or open a pop-up window containing all the information relating to the response by clicking the 'Actions' button in the last column of the data table, and selecting 'View'.
The Social Pinpoint Analysis Assistant can be used to automate parts of the text-analysis process, provided it is available in your subscription plan. This can make the analysis of open-ended responses much quicker and easier.
Sentiment analysis
Sentiment analysis classifies responses into broad categories of 'sentiment' based on the emotional tone used by the participant. It helps you see how participants felt when they responded to a question.
To assign a sentiment category to a response, click the button under the 'Sentiment' column of the data table next to the response. Then select one of the following categories from the dropdown menu that best matches the overall tone of the response:
- Positive - Indicates an emotional tone that is generally constructive, optimistic or confident.
- Mixed - Indicates a tone that has both positive and negative elements.
- Negative - Indicates a tone that expresses denial, disagreement or refusal.
- Neutral - Indicates a response that does not strongly express an emotional tone in a positive or negative direction.
You can view all data associated with a response in a single view and change the sentiment classification by clicking the 'Actions' button, then selecting the 'View' option.
If using Analysis Assistant and the sentiment has been automated you can, if you wish, override the AI sentiment. Using the dropdown menu select one of the following categories from the menu that best matches the overall tone of the response, this may be guided by the confidence score. By changing the sentiment you will also change the confidence score to 100%. If you need to revert back to the original automated sentiment, in the dropdown menu choose Auto.
Tag Analysis
Tag analysis helps you quantify your data by assigning one or more tags (keywords or short phrases) to each response. Tags help classify what people were talking about, and the frequency that specific topics or themes were mentioned.
For example, participants may have frequently mentioned the locality of 'Brooklyn' or the topic of 'Walking' which are perfect topics for tagging.
Users manually create tags and can assign multiple tags to each response.
Adding/Removing Tags
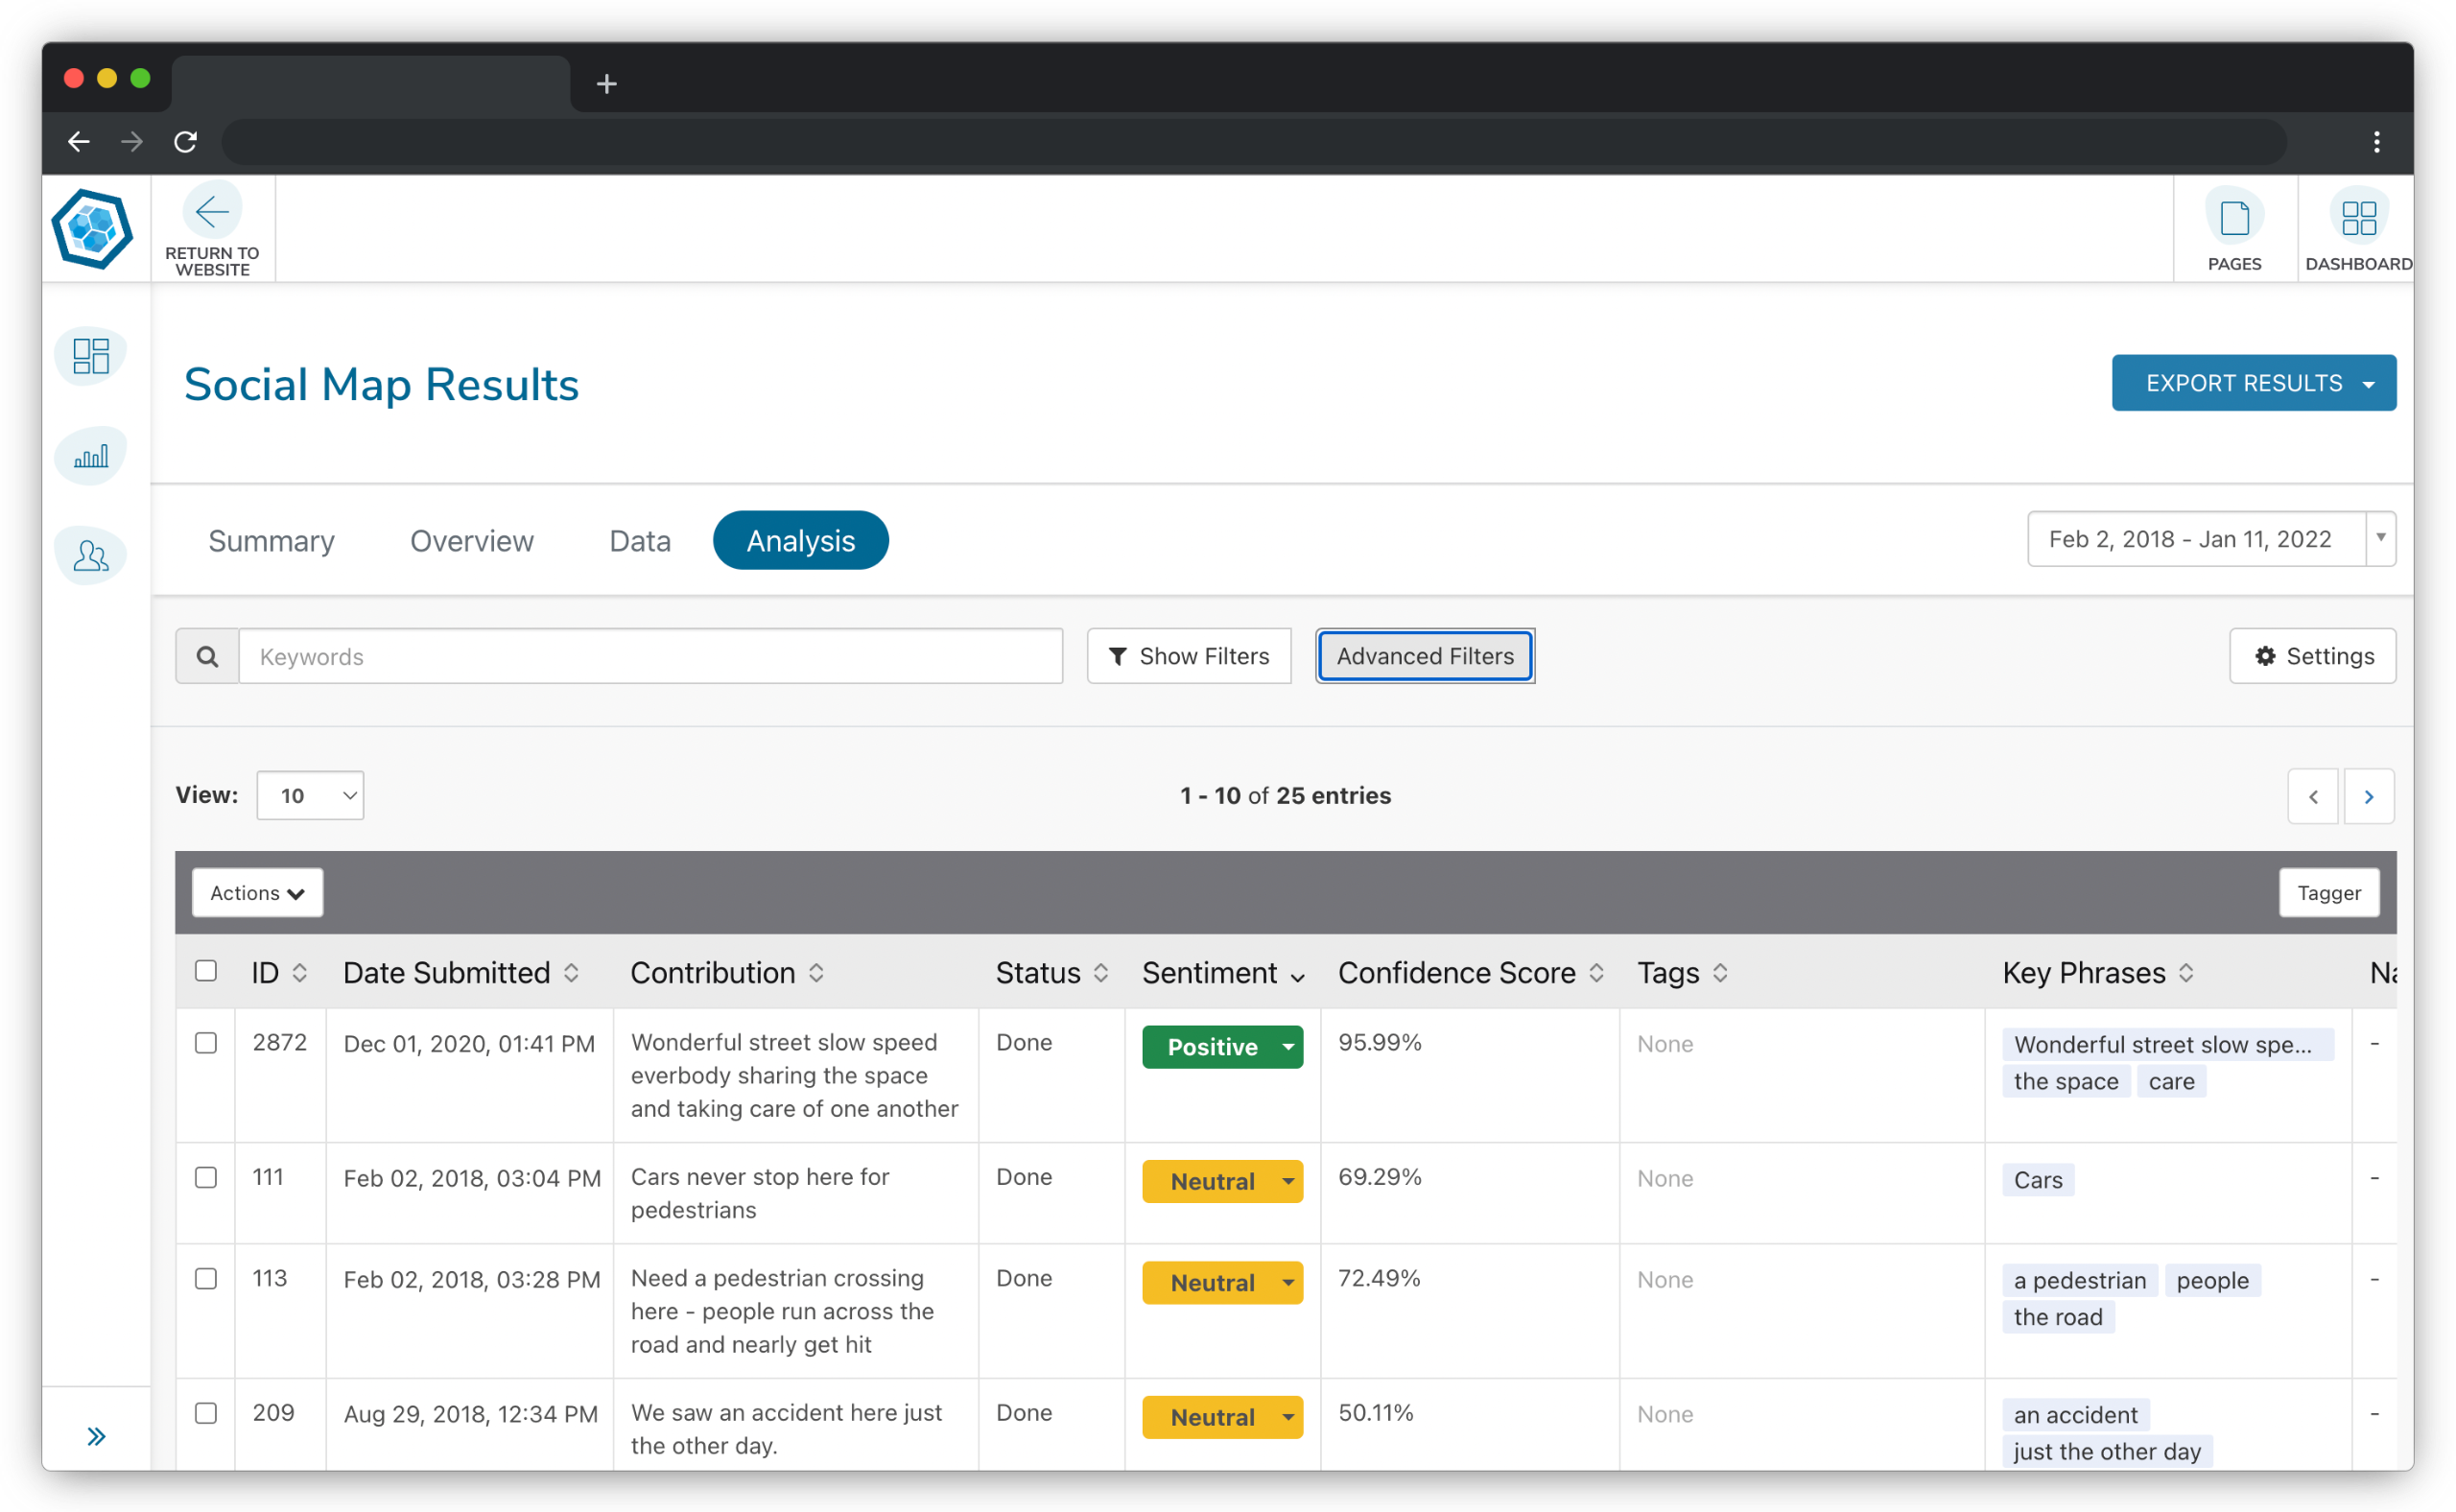
Tags can be added to submissions in the analysis section of the project results page in your dashboard directly in the column of the table itself, as a bulk action, or through the dedicated tagger.
In the column called "Tags" they can be added directly. To assign a tag, click the word 'None' in the empty cell next to the response. This will open an input field where you can enter a keyword or short phrase. When finished, press the 'enter' key on your keyboard, or click the tag name that appears below the input field after you finish typing.
You can add several tags at once into the input field. When you have finished adding all your tags, click the blue 'checkmark' icon next to the input field to save them. The tags you entered will now display in the data table under the 'Tags' column.
Once you have created a new tag, you can easily reuse it in other responses. Tags you previously entered will appear in a dropdown menu below the input field. You can select these by navigating to them using your keyboard and pressing the 'enter' key, or by simply clicking on them. When finished, click the blue 'checkmark' icon next to the input field to save.
To delete or modify tags you have already added, click on the tag name in the 'Tags' column. You can remove a tag by clicking the 'x' icon that appears to the left of the tag name, or use the 'backspace' key on your keyboard. Don't forget to save your changes by clicking the blue 'checkmark' icon.
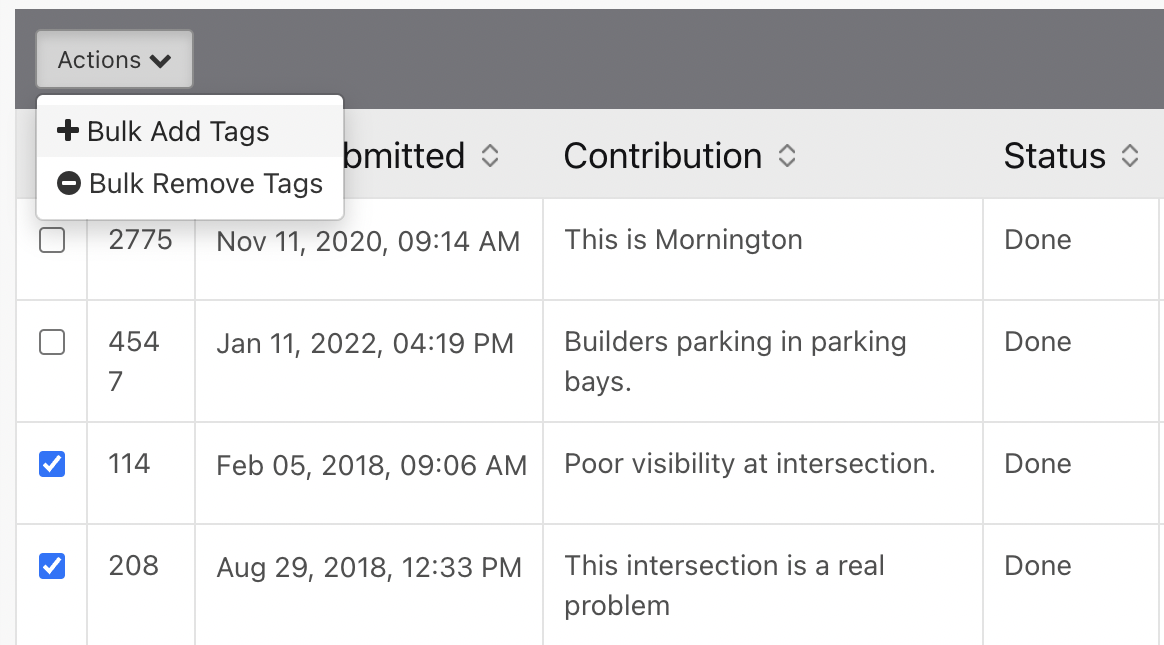
You can select multiple comments by ticking the checkboxes on the left of each row and selecting "Bulk Add Tags" from the Actions menu at the top left of the table.
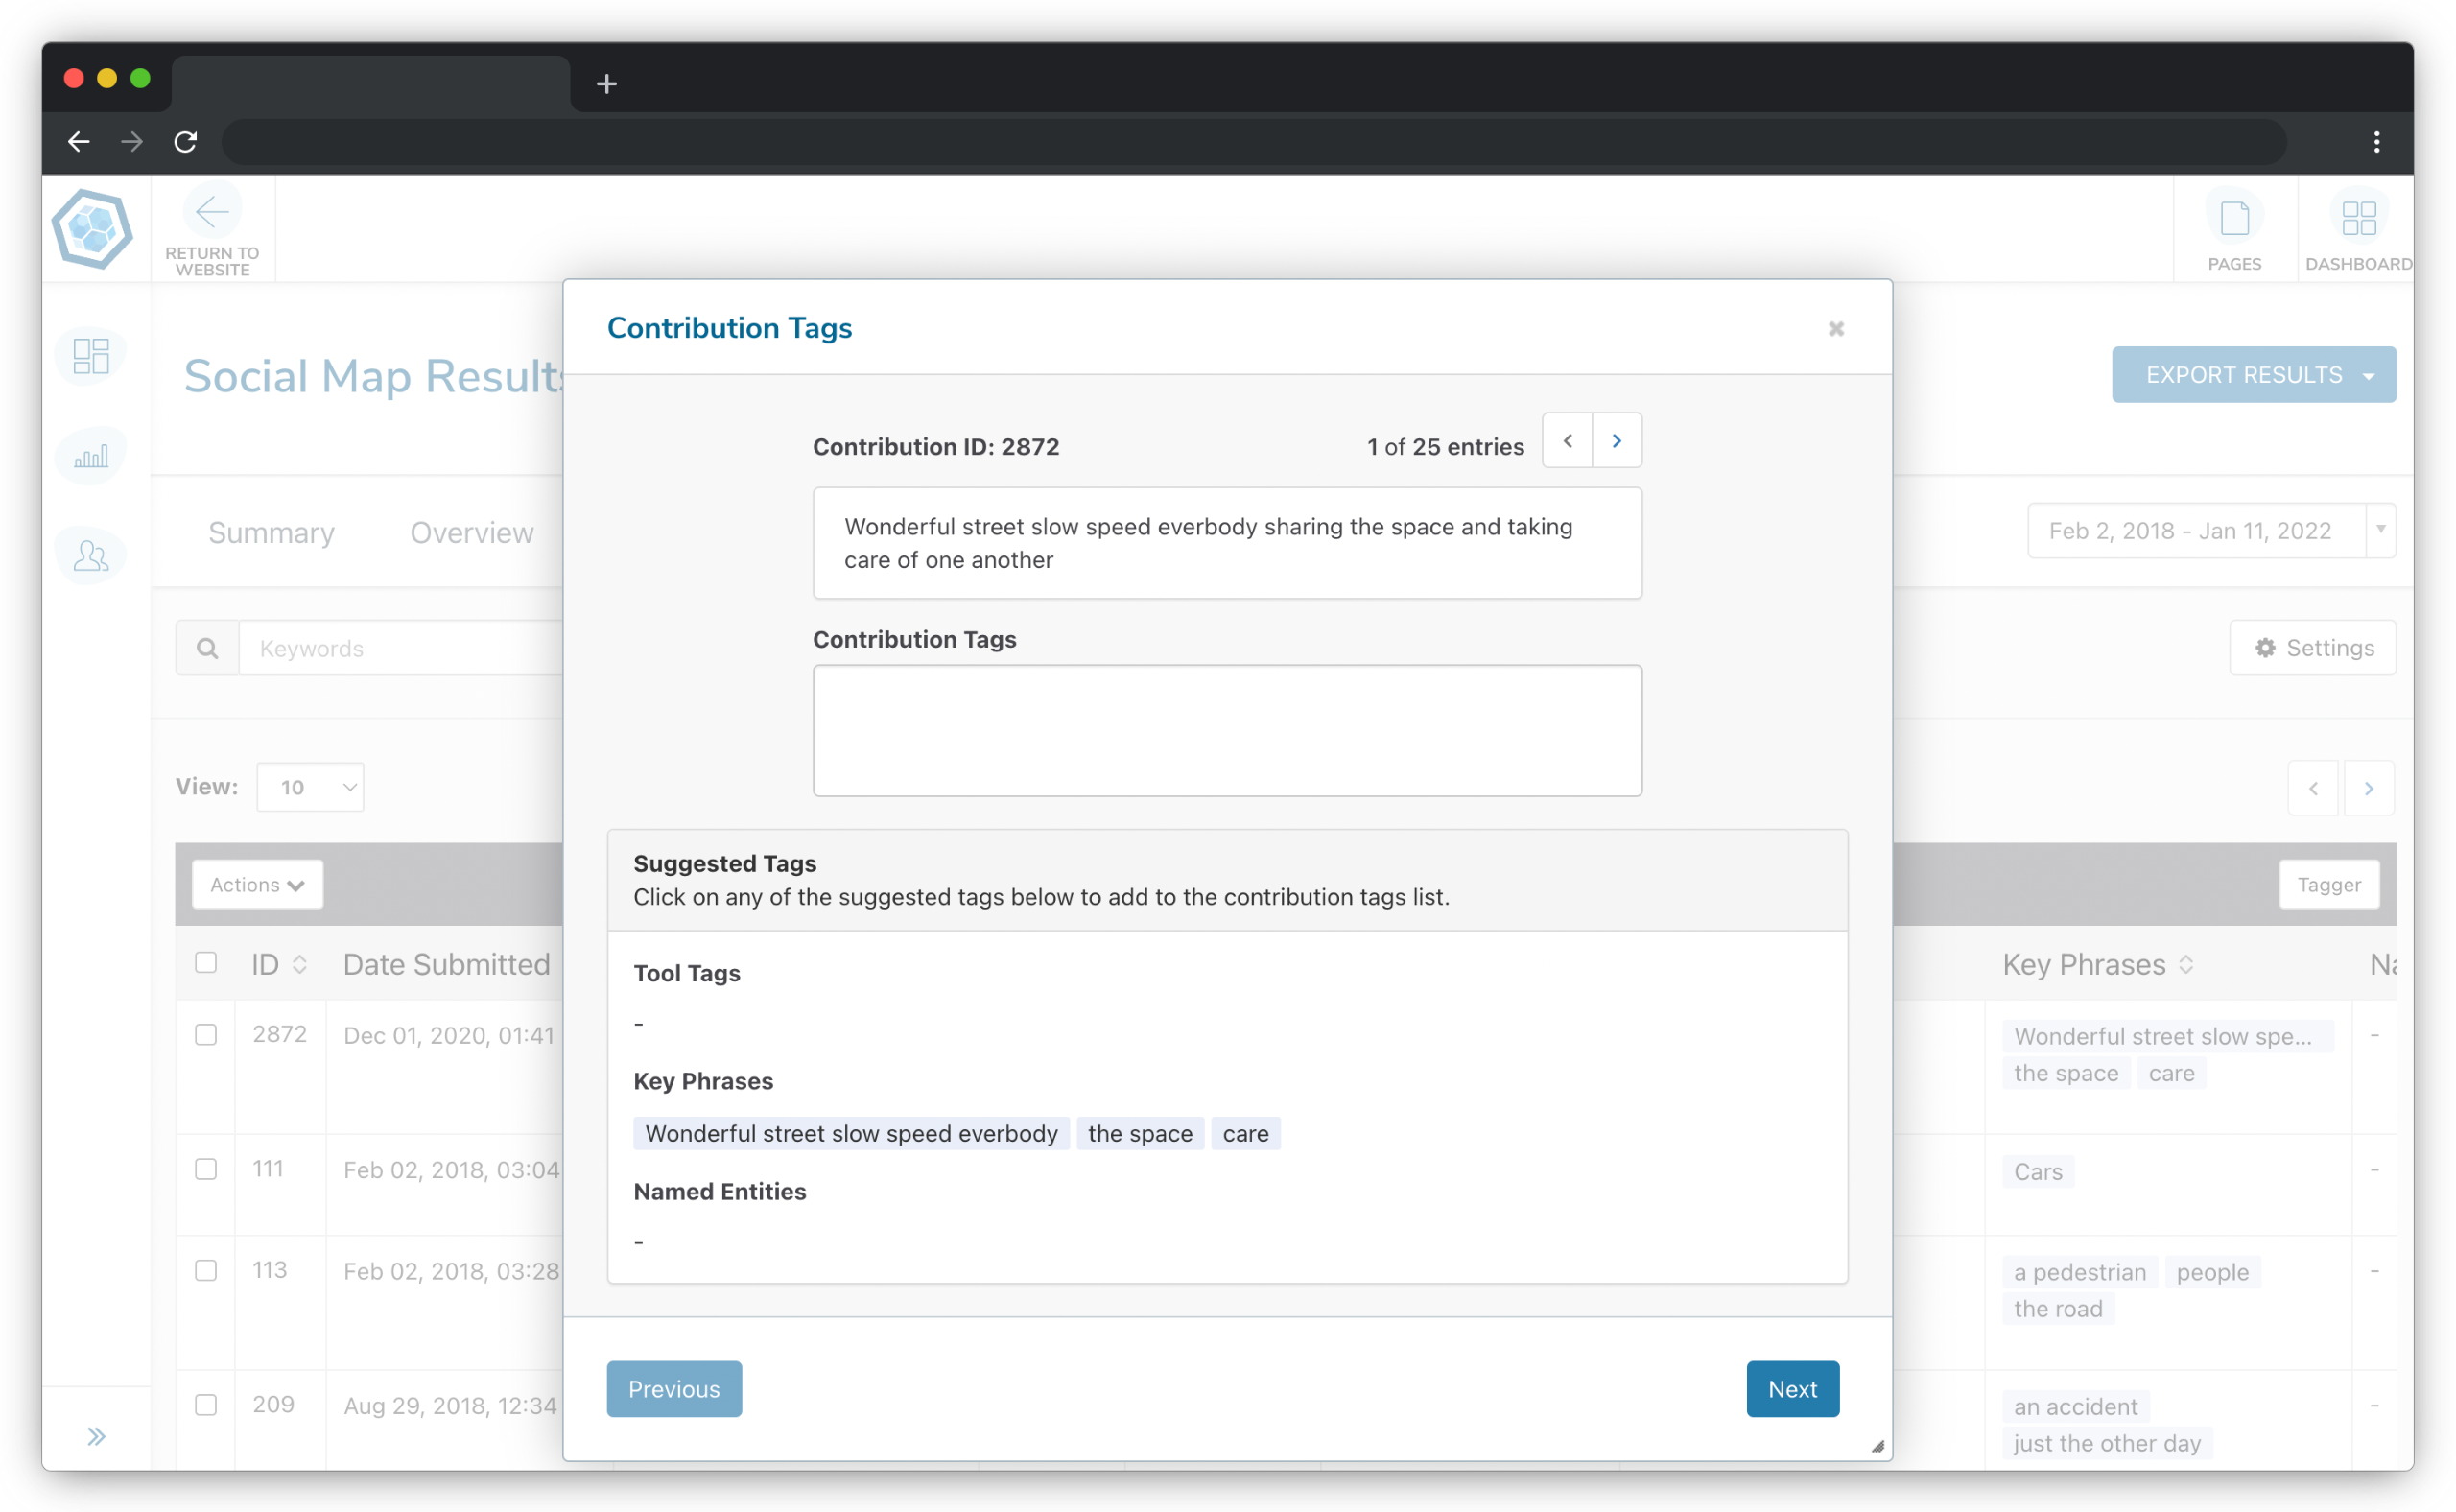
On the opposite side on the upper right of the table is a button labelled "Tagger" which opens a dedicated tagging modal (seen below). This will allow you to see submissions one by one, using the next and previous buttons, and add and remove tags.
For both bulk tagging or using the dedicated tagging modal it can be useful to filter the submissions first, particularly if you have a lot of them. The Advanced Filters button is next to the standard filters above the table and opens a modal to help you narrow down the submissions by keywords.
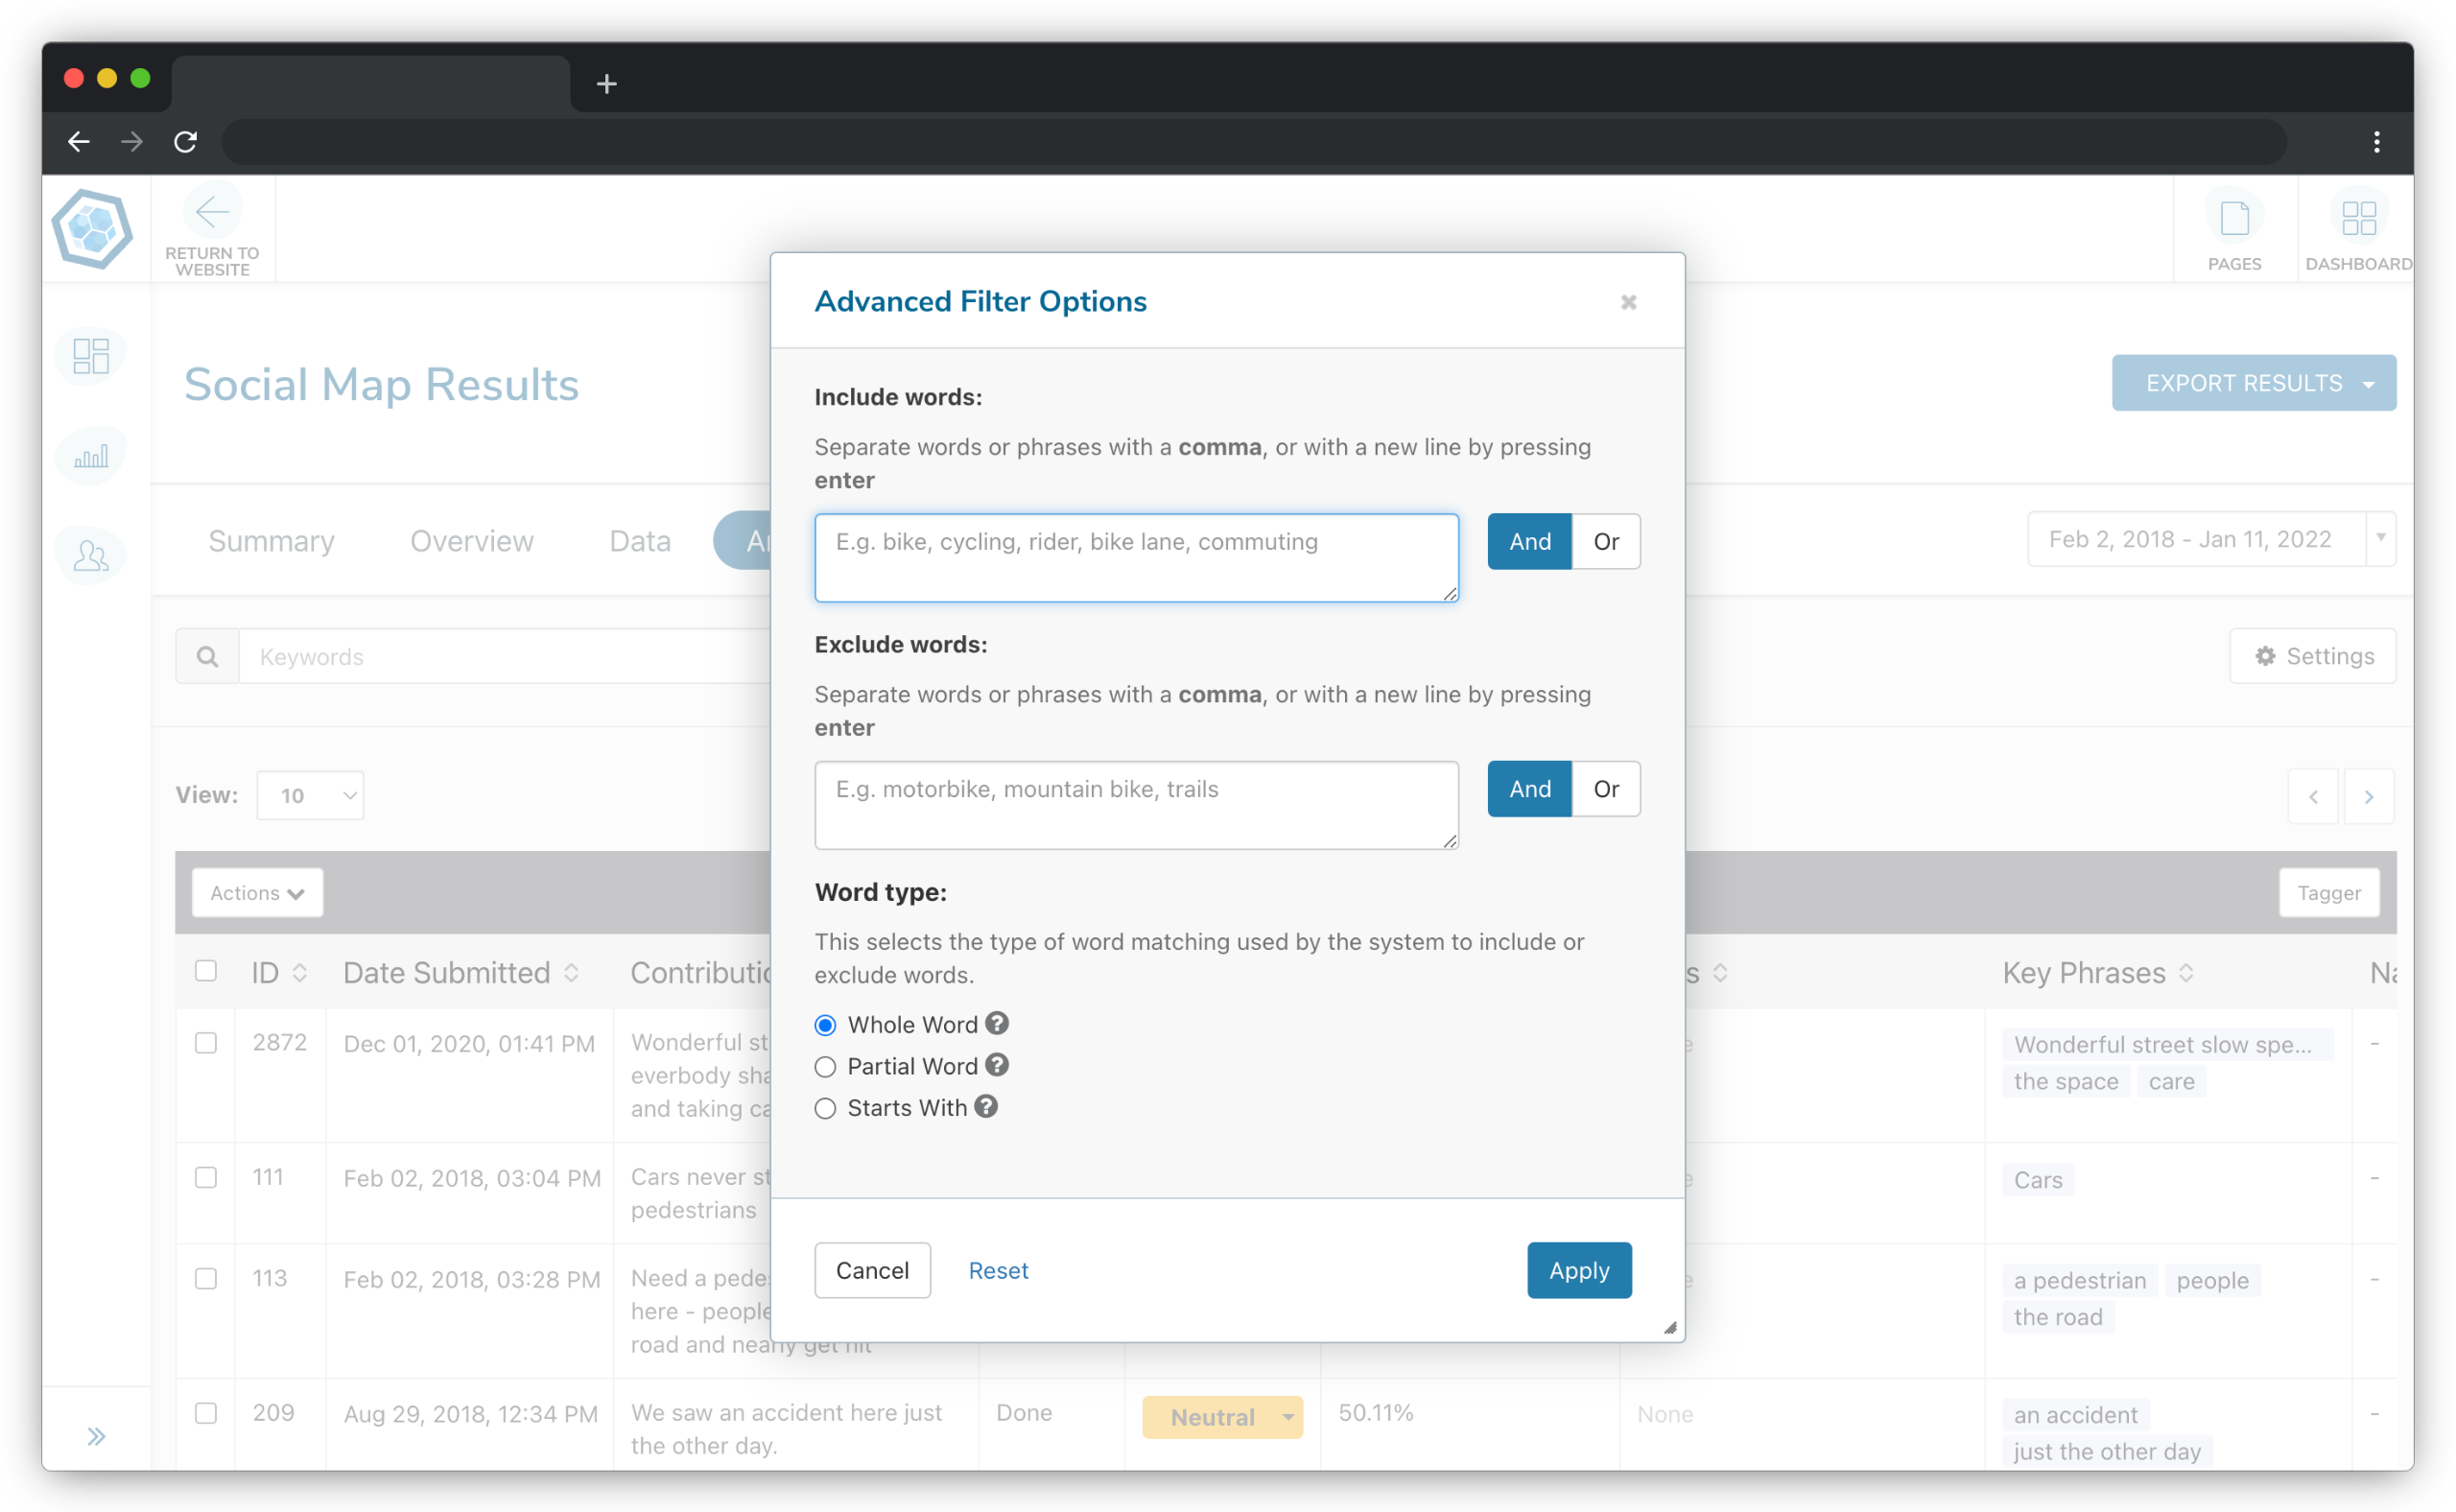
In the include words box, you can list words, separated by a comma, that you want comments to contain. If you want the comment to have one or more rather than all of them you can change from an "And" (all must be present) to an "Or" (match one or more) condition to the right. You can exclude words in the same way in the exclude words box below.
Finally, there is a radio button selection for the type of matching called Word type. It's best to use the default "whole words" here, which matches the items you enter exactly. However, you can also match fragments of a word with the "partial word" setting, or only match the beginning of words with the "starts with" option. You can hover over the tooltips for more information on using these options.
Featured Contributions
Featured contributions allow you to highlight individual responses in the Summary report. This feature allows you to show verbatim comments that best represents or summarises what your participants have told you, adding depth to your analysis.
To add a response to your summary report, simply click the 'star' icon under the 'Featured Contributions' column of the data table next to the response. You can add up to 20 featured contributions to the Summary report for each question.


